

Administration
Groups
Updated: November 16, 2026
Organise clients into groups and scope your team's visibility.
Groups let you partition your clients — by region, business unit, service tier, or however you organise your business — and control which of your team members can see which clients.
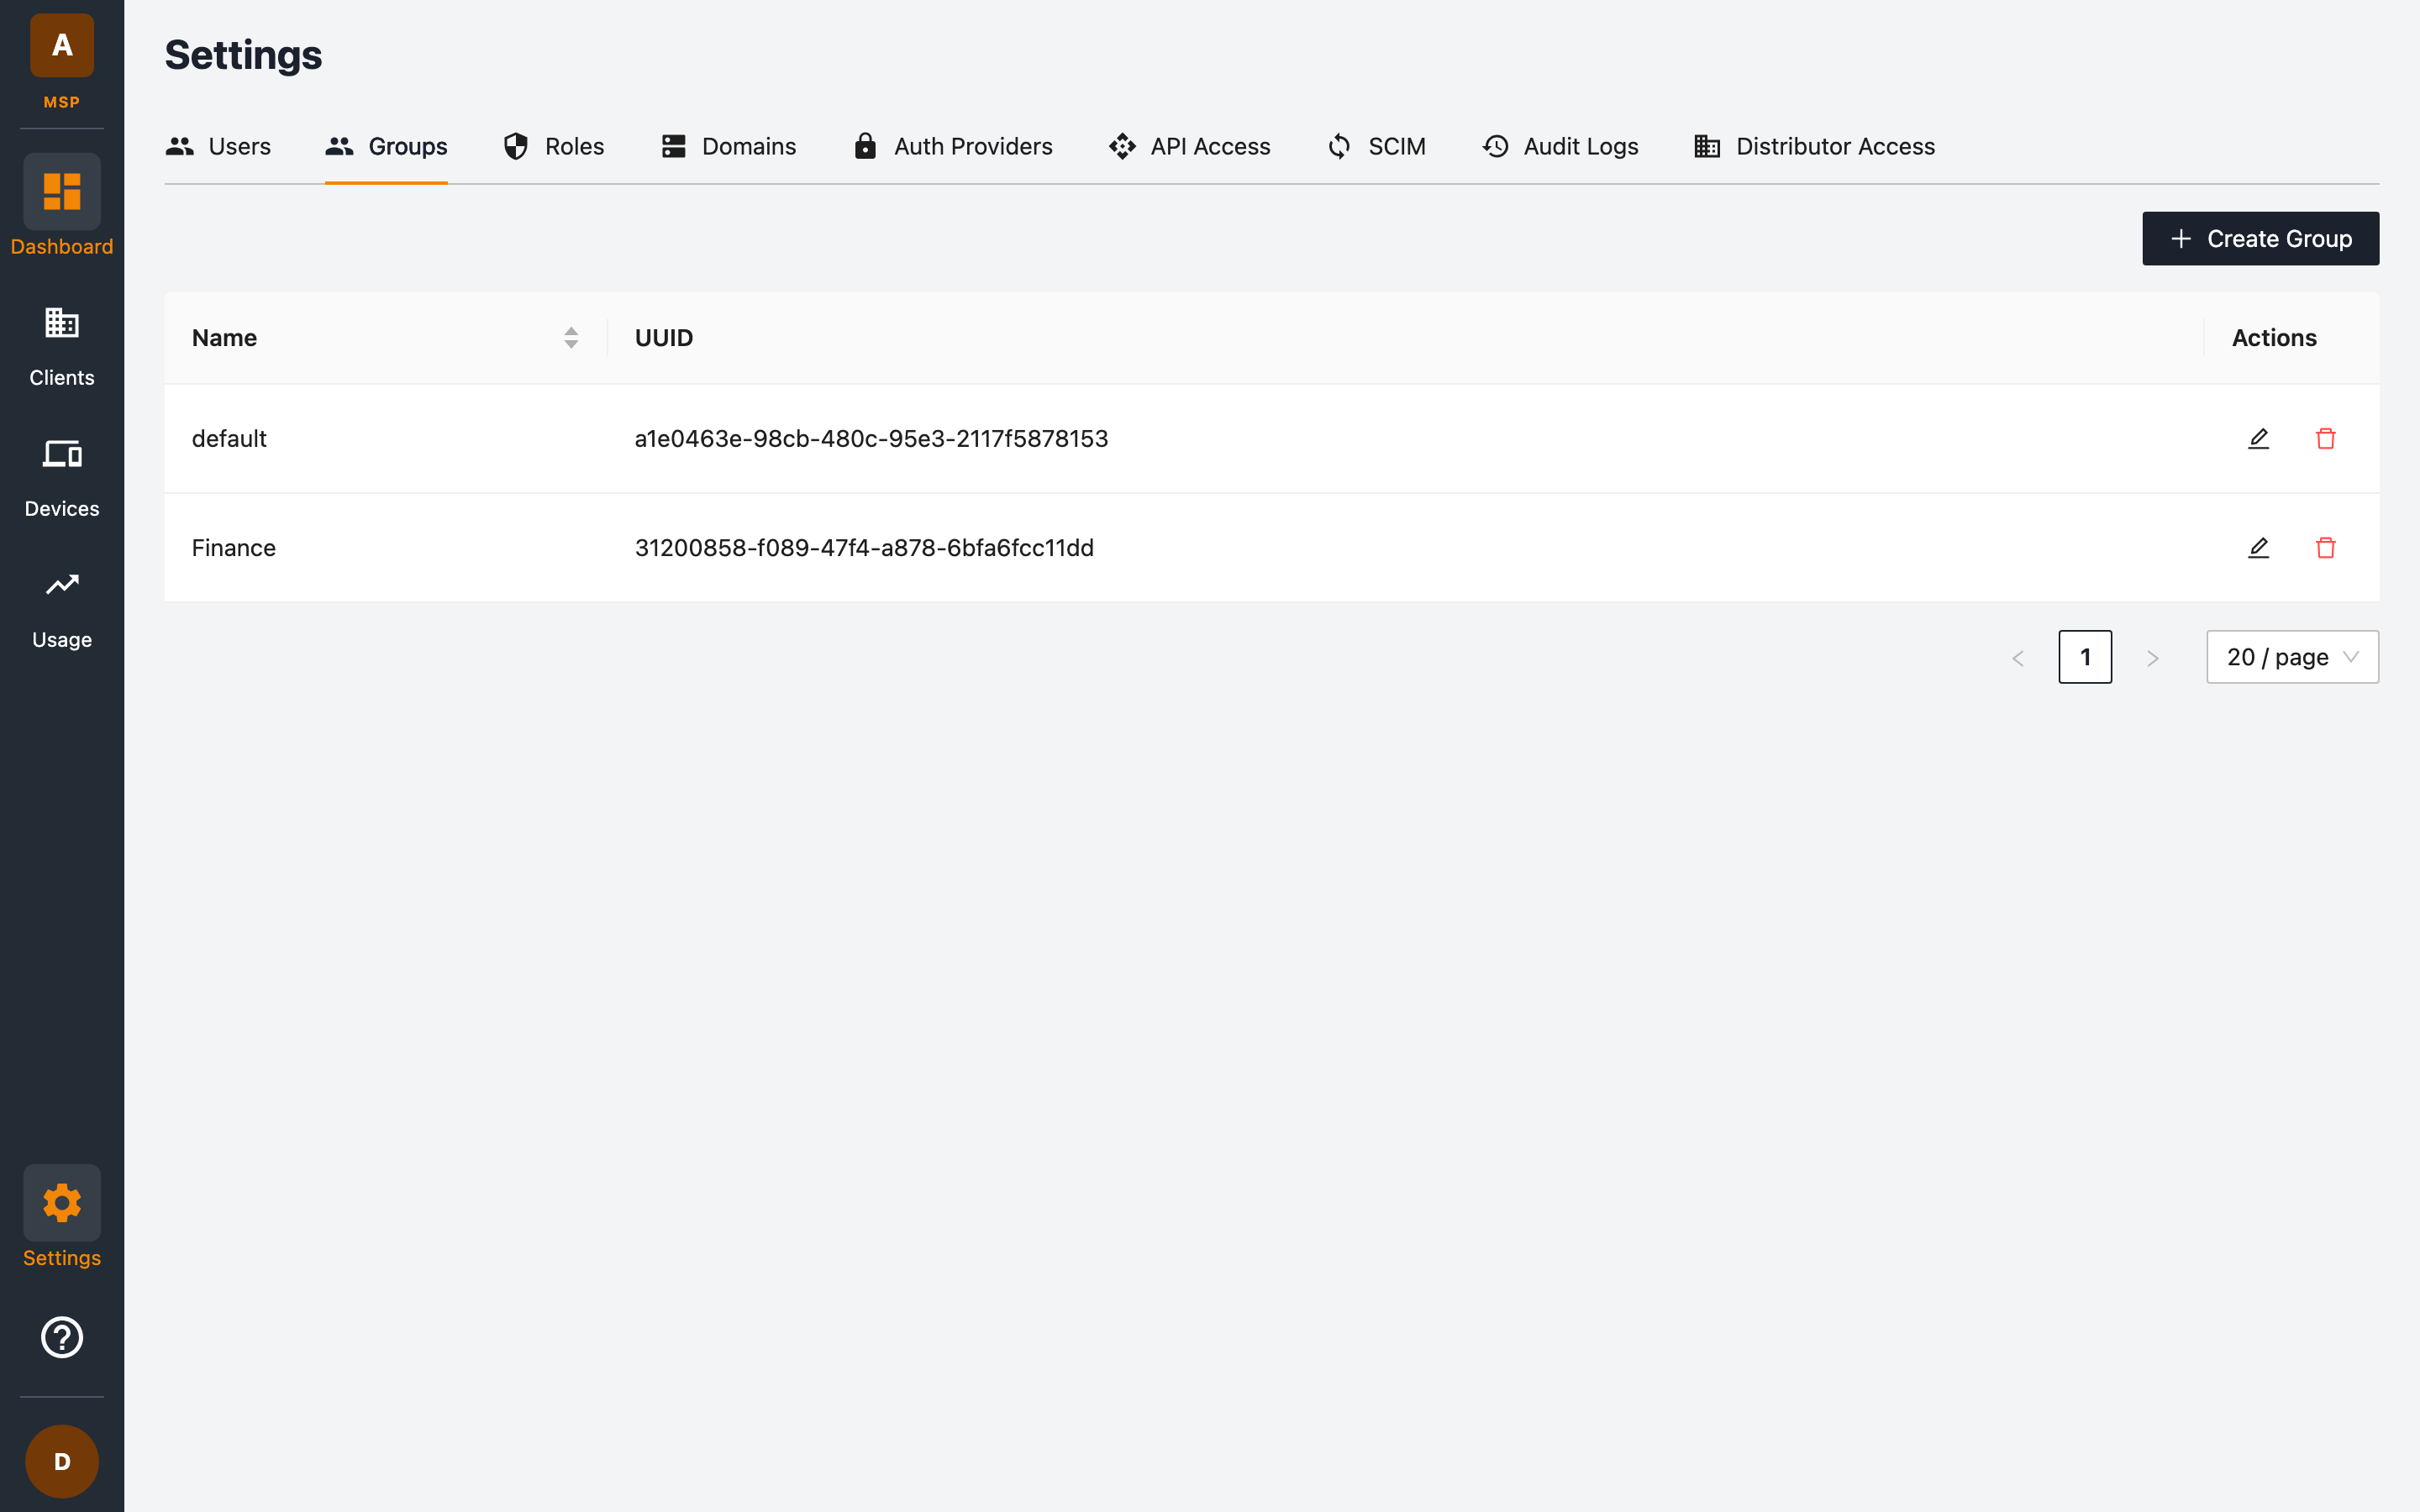
How groups work
- Every client can be assigned to one or more groups (or to no group at all).
- Every MSP user is granted access to specific groups, or to All Groups.
- A user only sees the clients, usage data, and dashboards for the groups they can access.
A default group is created automatically with your MSP.
Creating a group
- Go to Settings → Groups.
- Click + Create Group.
- Give the group a name and save.
Managing groups
The groups table shows each group's name and UUID. Use the edit icon to rename a group, or the delete icon to remove it.
Deleting a group does not delete the clients in it — they simply lose that group assignment.
Assigning clients to groups
You can set a client's groups:
- When creating the client — via the Groups field.
- Later, via Edit on the client row.
Assigning users to groups
Grant group access when adding or editing a user. Users with the All Groups toggle automatically gain access to any group you create in the future.
Filtering by group
Both the Clients and Usage pages have a Filter by group control, so you can slice your entire portfolio view by group.