

Administration
SCIM Provisioning
Updated: November 16, 2026
Automatically provision users and groups from your identity provider.
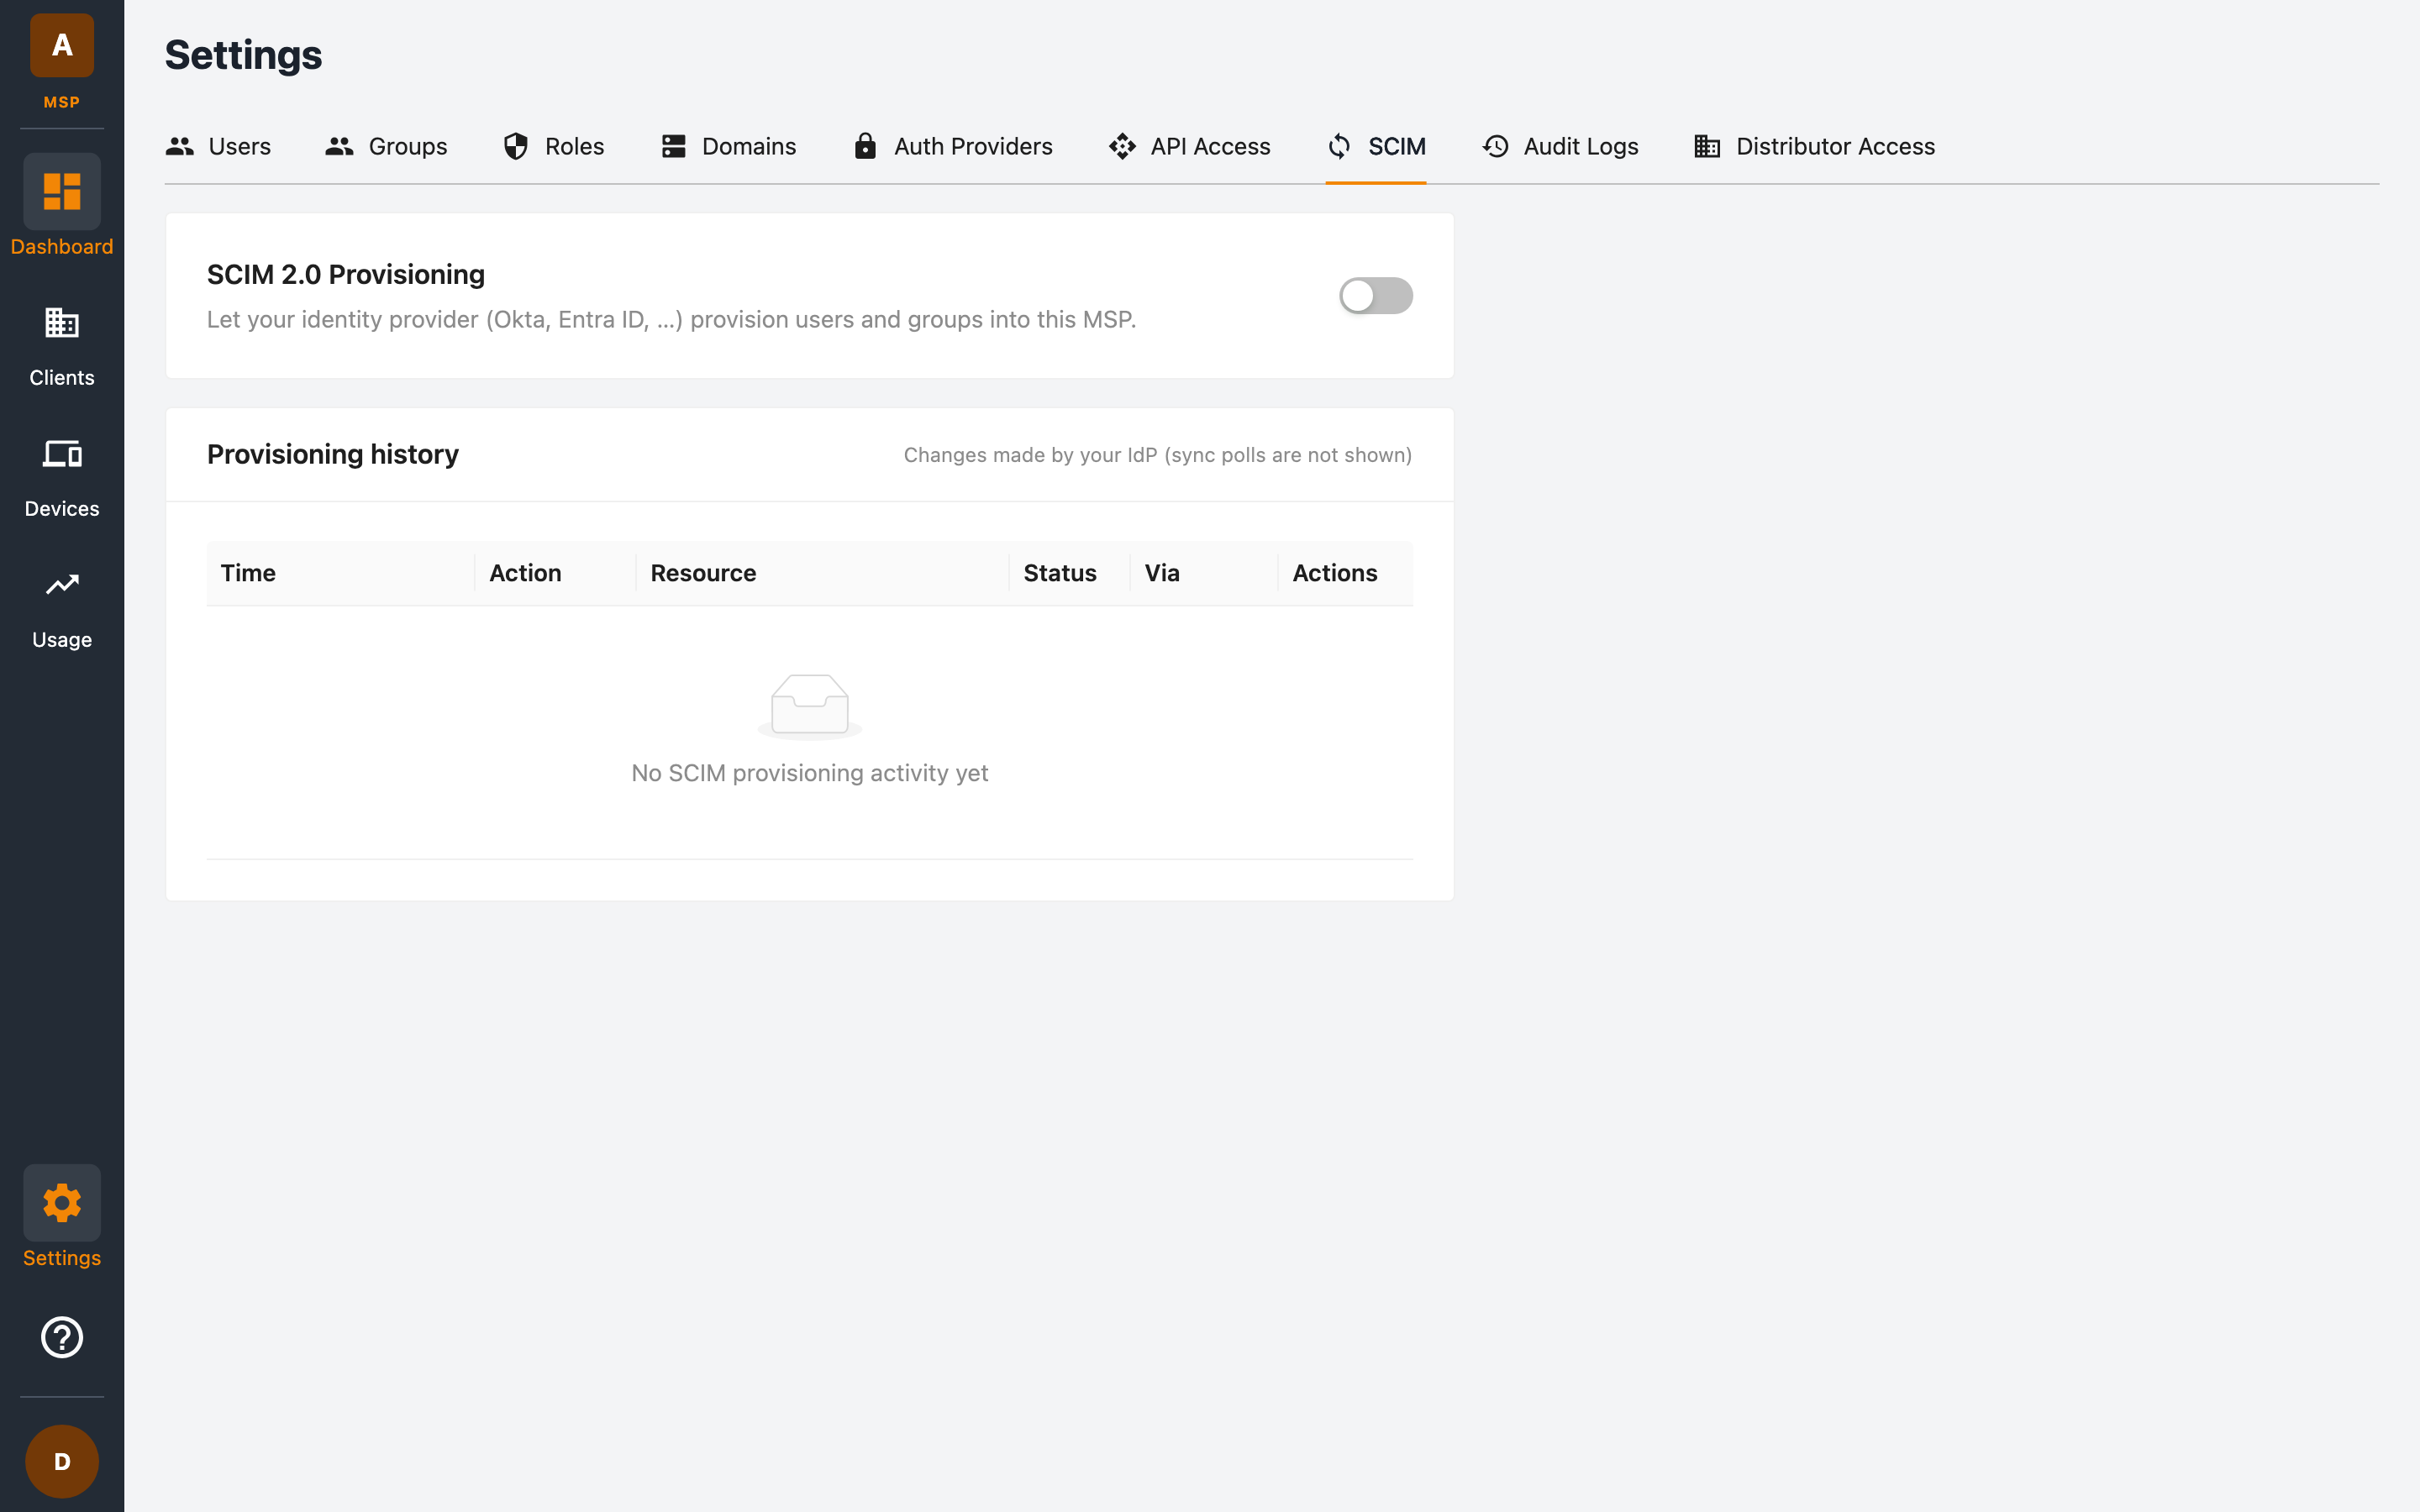
The Settings → SCIM tab lets your identity provider (Okta, Microsoft Entra ID, and others) provision users and groups into your MSP automatically using the SCIM 2.0 standard.
What SCIM gives you
With SCIM enabled, your IdP becomes the source of truth for your MSP team:
- User provisioning — new starters added to your IdP get MSP portal accounts automatically.
- User deprovisioning — leavers are deactivated in the portal as soon as they're removed in your IdP.
- Group sync — IdP groups can be synchronised into MSP groups.
Enabling SCIM
- Go to Settings → SCIM.
- Toggle SCIM 2.0 Provisioning on.
- Choose a default role for provisioned users.
- Copy the SCIM base URL and generate a credential (see below).
- In your identity provider, create a SCIM provisioning integration using that URL and credential.
Authentication options
Your IdP authenticates its SCIM requests with one of two credentials:
- OAuth client (recommended) — click Create SCIM OAuth client to generate a dedicated client-credentials pair. Your IdP exchanges it for short-lived tokens at the portal's
/oauth/tokenendpoint, so nothing long-lived is stored on the IdP side. - Static token — click Generate SCIM token for a long-lived bearer token. The token is shown once — copy it straight into your IdP.
Zero-downtime token rotation
You can rotate a static token without breaking provisioning: generating a new token gives any existing token a 7-day grace window before it expires. Update your IdP with the new token within that window. You can also delete an old token immediately once the switch-over is done.
Identity provider setup
Consult your IdP's documentation for the exact steps:
- Okta — add a SCIM 2.0-compatible app integration, set the base URL and token under Provisioning.
- Microsoft Entra ID — configure automatic provisioning on an enterprise application with the tenant URL and secret token.
Once connected, run an initial sync from your IdP and verify that users appear under Settings → Users.
Provisioning history
Below the settings, Provisioning history lists the changes your IdP has made — the Time, Action, Resource, Status, and the credential it came Via. Routine sync polls are not shown.
Note: users provisioned via SCIM still need roles and group access to work in the portal. Review new users after the first sync.