
FireTail Endpoint Agent

Updated: August 11, 2026

The FireTail Endpoint Agent, available for MacOS and Windows, helps organizations monitor usage of AI platforms. It works by detecting and logging interactions with AI providers, and monitoring software installed or running on the device. All captured information is sent to the FireTail platform, where it can be viewed and analyzed.

Learn more about what data the endpoint agent captures for Employee Logs, Devices and Applications.

You will need to generate a project token for the FireTail Endpoint Agent to use. Find out how to generate a FireTail Project token.

Currently supported AI Providers

  • ChatGPT
  • Claude
  • Gemini
  • ...and more!

View the full list of AI Providers and their supported capabilities.

Installation on MacOS

The FireTail Endpoint Agent is available for MacOS as a .pkg. The .pkg can be distributed to users and installed by following an installation wizard, or deployed at scale using your company's MDM software.

Once the FireTail Endpoint Agent is installed, you will need to configure it. This can be done via defaults, which can be managed by most MDM software or configured via CLI.

The log file for the FireTail Endpoint Agent is located at /var/log/firetail-agent.log. To view it via CLI:

tail -f -20 /var/log/firetail-agent.log

Installation via wizard

The FireTail Endpoint Agent can be installed on MacOS using an installation wizard.
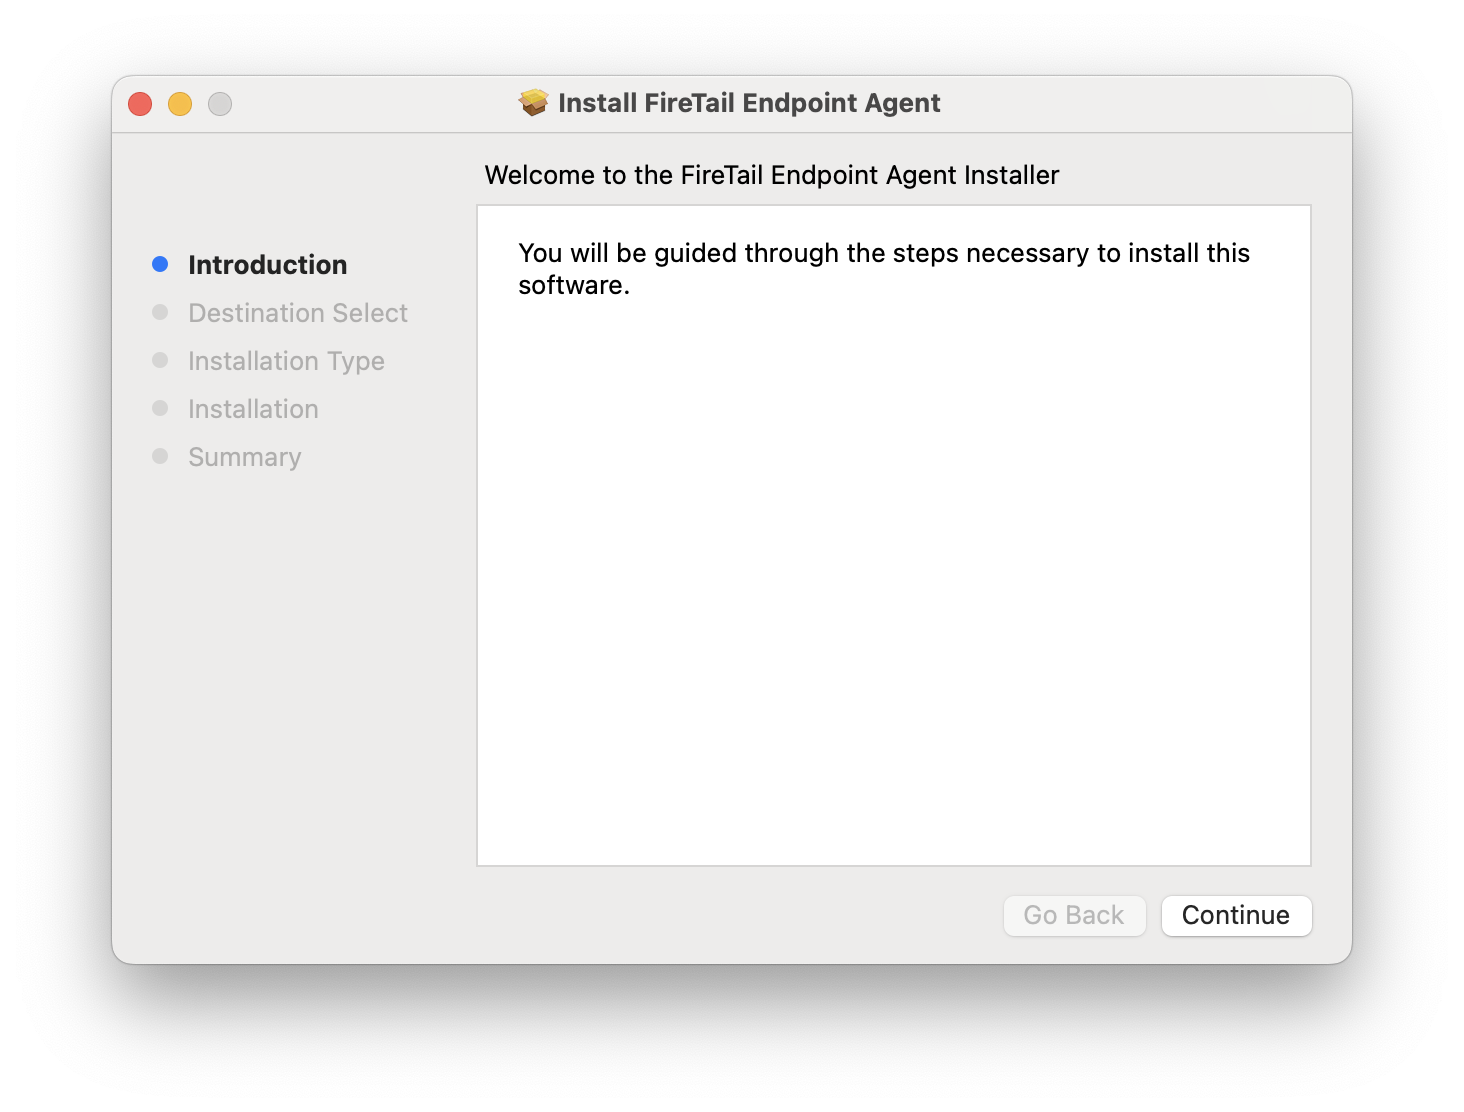
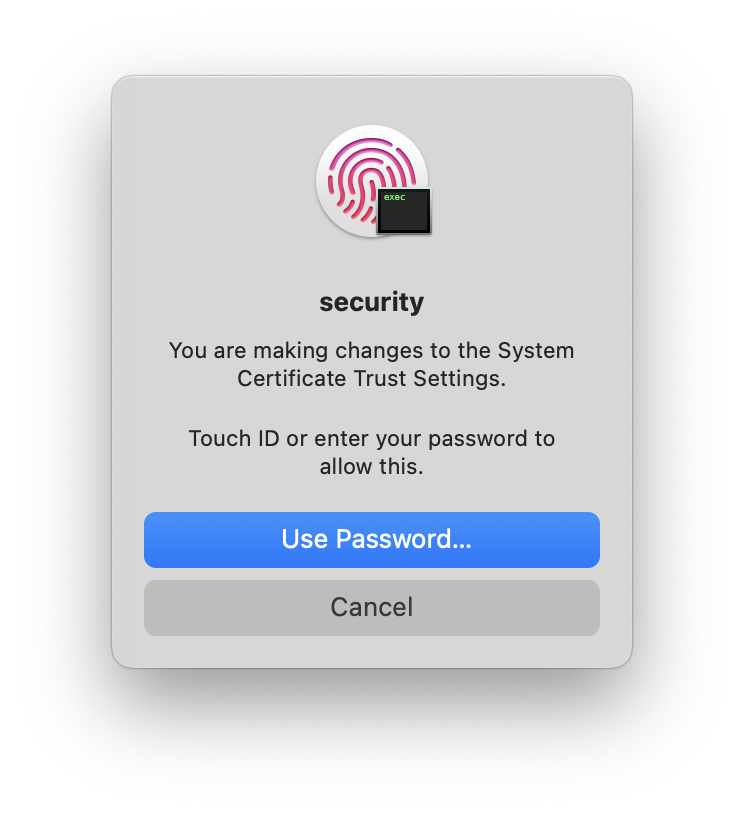
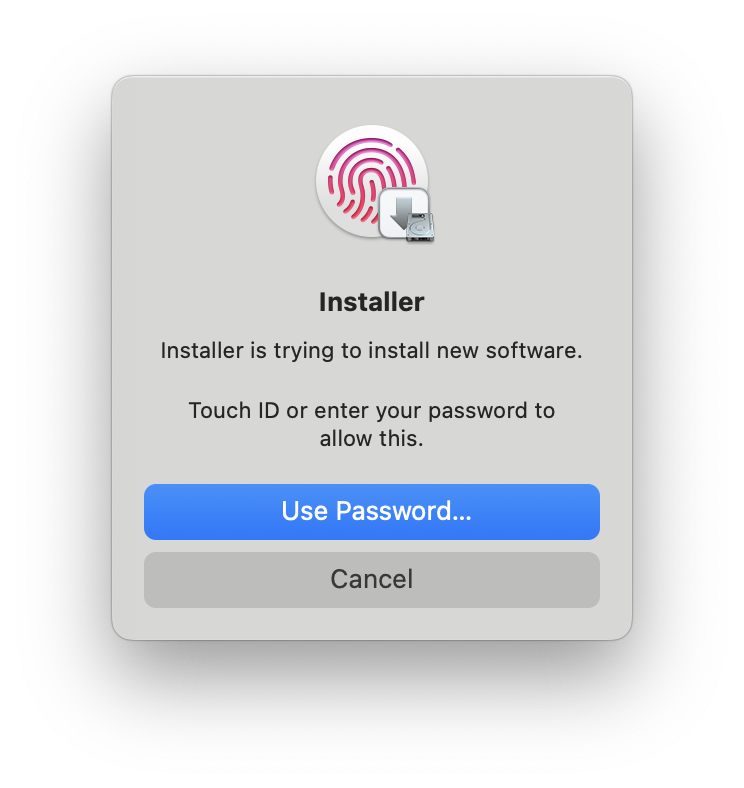
The wizard will require the user to authenticate twice:

  1. First, with permission to install new software.
  2. Second, with permission to make changes oto the System Certificate Trust Settings - this is required to install the FireTail Endpoint Agent's SSL certificate into the Trust Store.
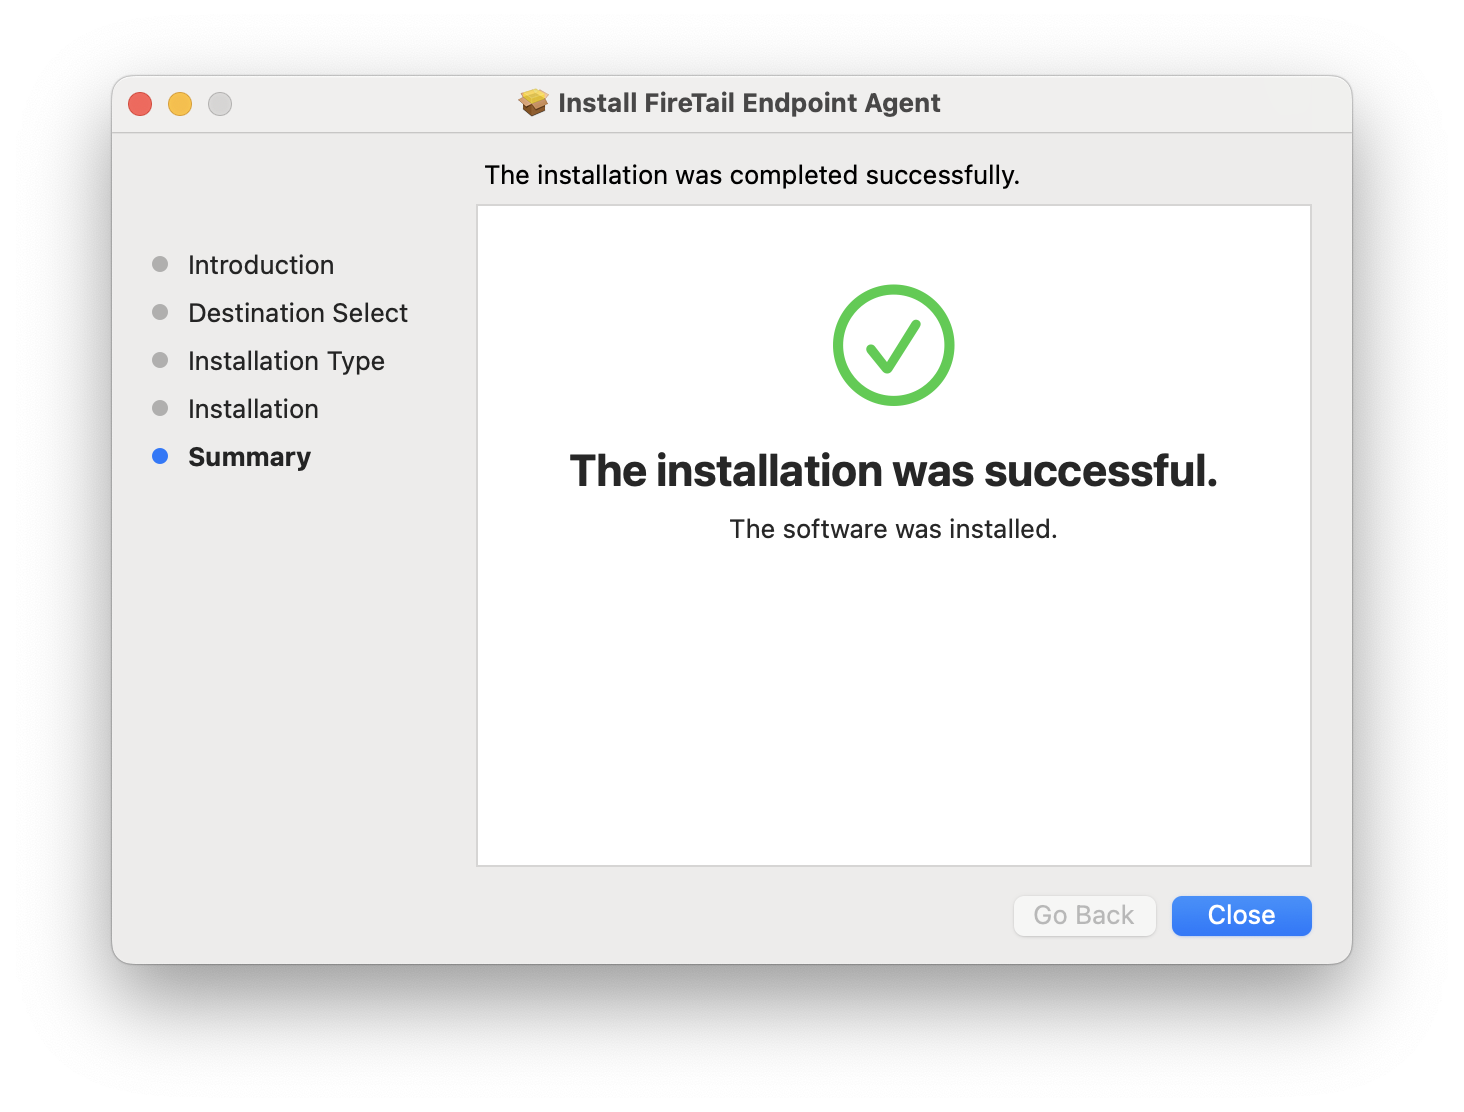
Upon successful installation the user should be presented with the following dialogue:
Once the FireTail Endpoint Agent is installed, you can configure it.

Installation via CLI

The FireTail Endpoint Agent can also be installed on MacOS via CLI. Download the .pkg and use installer:

sudo installer -pkg ./FireTail\ Endpoint\ Agent.pkg -target /

You can verify the integrity of the download against its published SHA256 checksum:

shasum -a 256 FireTail_Agent.pkg

For more details on how to customise the installation using installer, run man installer.

To check the status of the FireTail Endpoint Agent, use launchctl:

launchctl print system/com.firetail.agent | grep state

Should you encounter any issues, you can restart the FireTail Endpoint Agent via CLI:

launchctl kickstart -k gui/$(id -u)/com.firetail.agent

Once the FireTail Endpoint Agent is installed, you can configure it.

Configuration

On MacOS, the FireTail Endpoint Agent is configured via defaults for the root user under the domain com.firetail.agent, which you should also be able to manage via your company's MDM software. Find a full list of keys available under the com.firetail.agent domain below.

Defaults Key Type Required? Example Description
project_token String FTPSB-XXX... The project token to use when fetching data from the FireTail API. The token prefix selects the SaaS environment.
proxy_port Integer 8080 The port the FireTail agent will use to proxy traffic in proxy mode
api_port Integer 8081 The port the FireTail agent's API on to manage bypasses etc.
debug Boolean true Enables debug logging

You can also configure the FireTail Endpoint Agent via CLI using defaults. For example, to set the project token:

sudo defaults write com.firetail.agent project_token "$FIRETAIL_PROJECT_TOKEN"

After changes you need to restart the agent

sudo launchctl kickstart -k system/com.firetail.agent

Installation on Windows

The FireTail Endpoint Agent is available for Windows as a .msi, which can be distributed to users and installed by following an installation wizard, or deployed at scale using your company's MDM software.

The log file for the FireTail Endpoint Agent is located at C:\Windows\Temp\FireTail.

Traffic interception modes

On Windows the FireTail Endpoint Agent can intercept traffic in one of two modes, chosen at install time.

Mode How it works Coverage
Proxy (default) The agent registers itself as the Windows system proxy (WinINET). Applications that honour the system proxy - browsers, Microsoft 365 apps, and most desktop software.
Transparent (beta) The agent creates a virtual network adapter (TUN) and takes the default route, capturing traffic at the network interface. Everything proxy mode covers, plus WSL, CLI tools, and native applications that ignore the system proxy.

Transparent mode routes all outbound traffic through the agent's virtual adapter, but only connections whose TLS SNI matches a monitored AI provider are decrypted and inspected. All other connections are passed straight through to the network untouched.

Two things to be aware of when running in transparent mode:

  • QUIC is blocked. The agent drops outbound UDP on port 443 so that browsers fall back to TCP, where traffic can be inspected. This is expected behaviour and browsers handle it transparently.
  • It falls back automatically. If the virtual adapter cannot be created - for example because a VPN client has claimed the default route - the agent logs an error and reverts to proxy mode, so the device is never left unmonitored.

In proxy mode, WSL subnets are explicitly added to the system proxy bypass list, so WSL traffic is not captured at all. If you need to monitor AI usage from WSL, Claude Code, or other command-line tooling, you need transparent mode. See Trusting the FireTail CA in WSL and developer tools for the additional setup those tools require.

Transparent mode is currently beta, and is available on Windows only. The macOS agent runs in proxy mode.

Installation via wizard

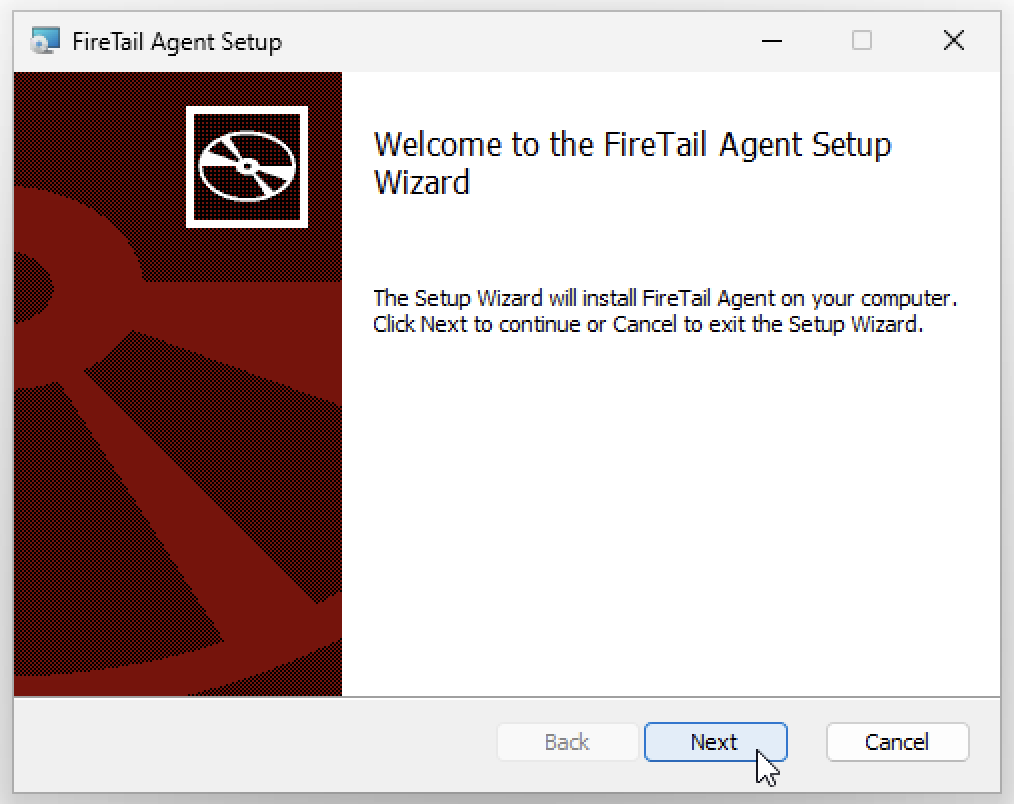
The FireTail Endpoint Agent can be installed on Windows using an installation wizard. Click "Next".
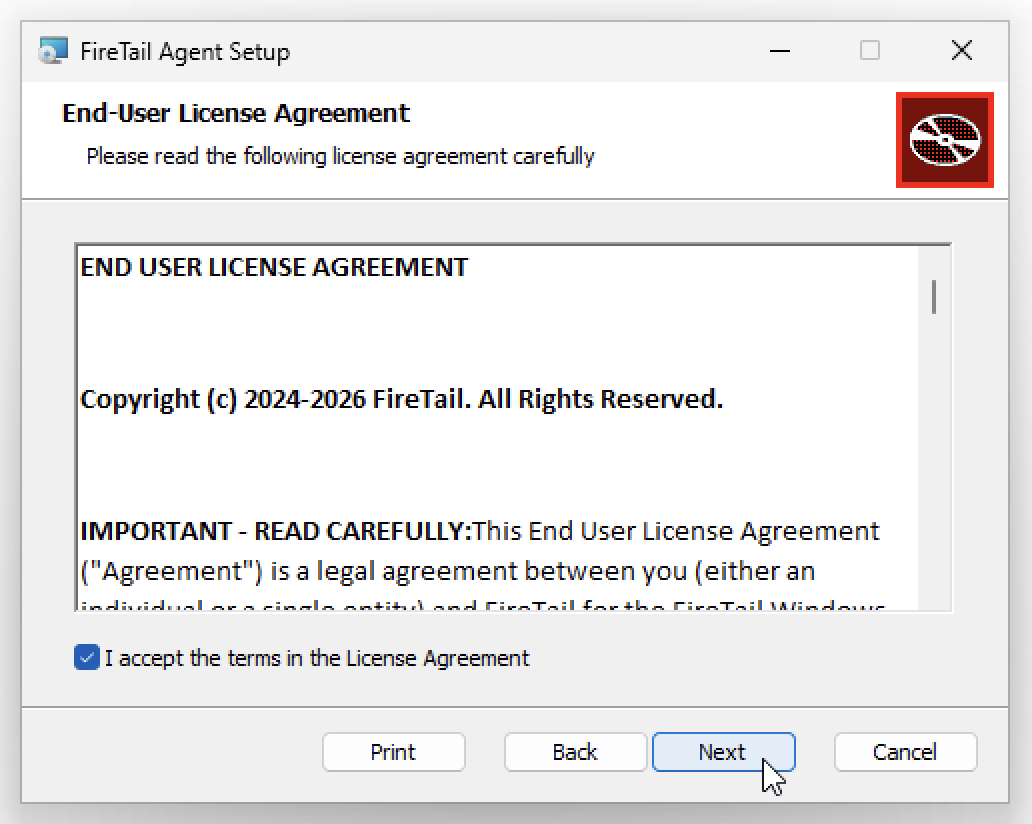
Accept the terms in the license agreement and click "Next".
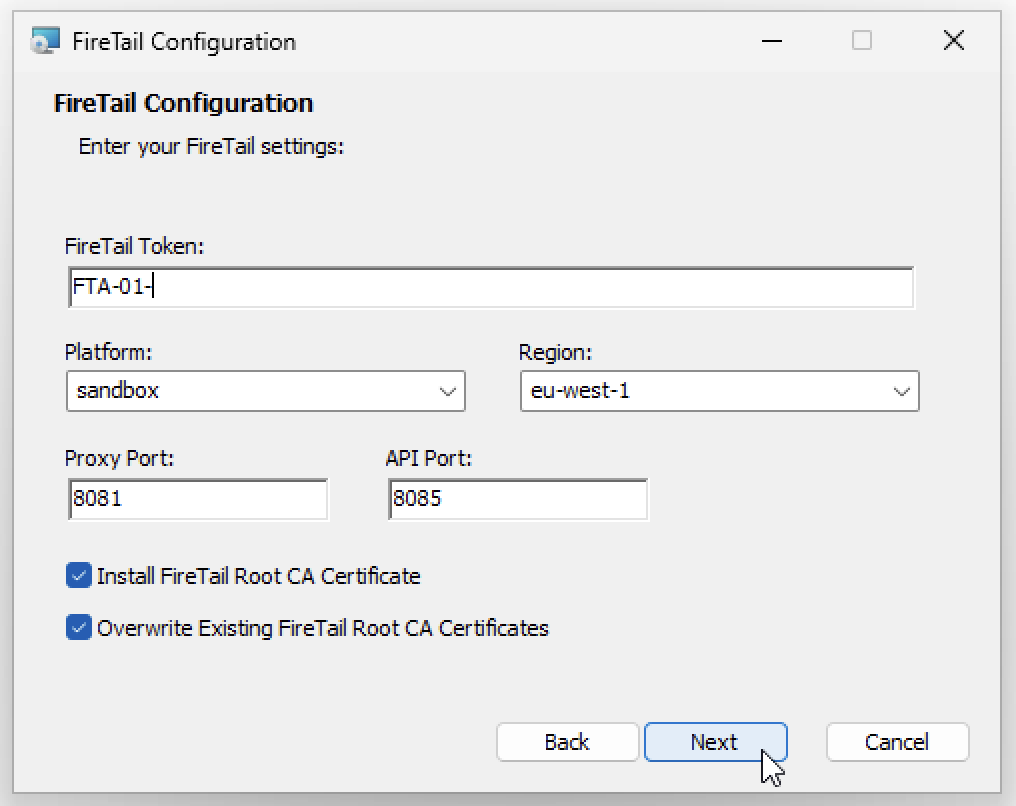
Input the Project Token into the installation wizard. The FireTail platform and region are derived from the token, so there is nothing else you need to select.

You can also customise:

  • The port of the FireTail Endpoint Agent's proxy server,
  • The port of the FireTail Endpoint Agent's API,
  • Whether the installation wizard should install the FireTail Endpoint Agent's root CA certificate,
  • Whether the installation wizard should overwrite any existing certificates from previous installations of the FireTail Endpoint Agent, and
  • The traffic interception mode - "Proxy" (the default) or "Transparent (beta)".

Once you have inputted your desired configuration, click "Next".
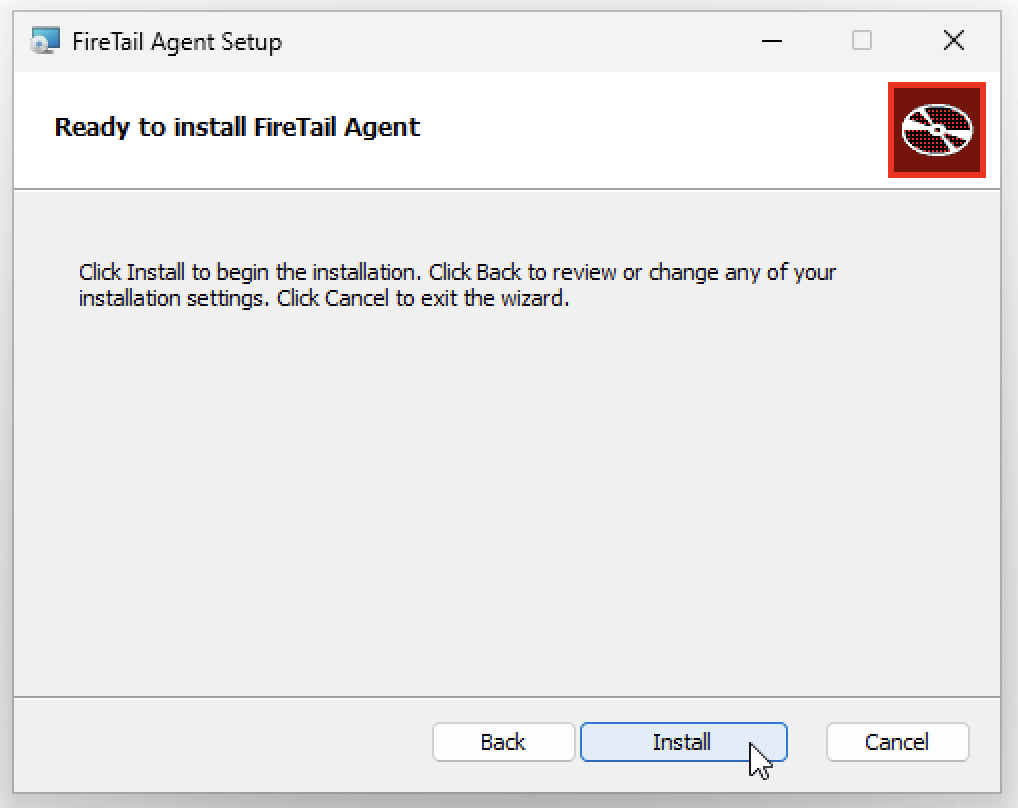
Click "Install" to begin the installation process.
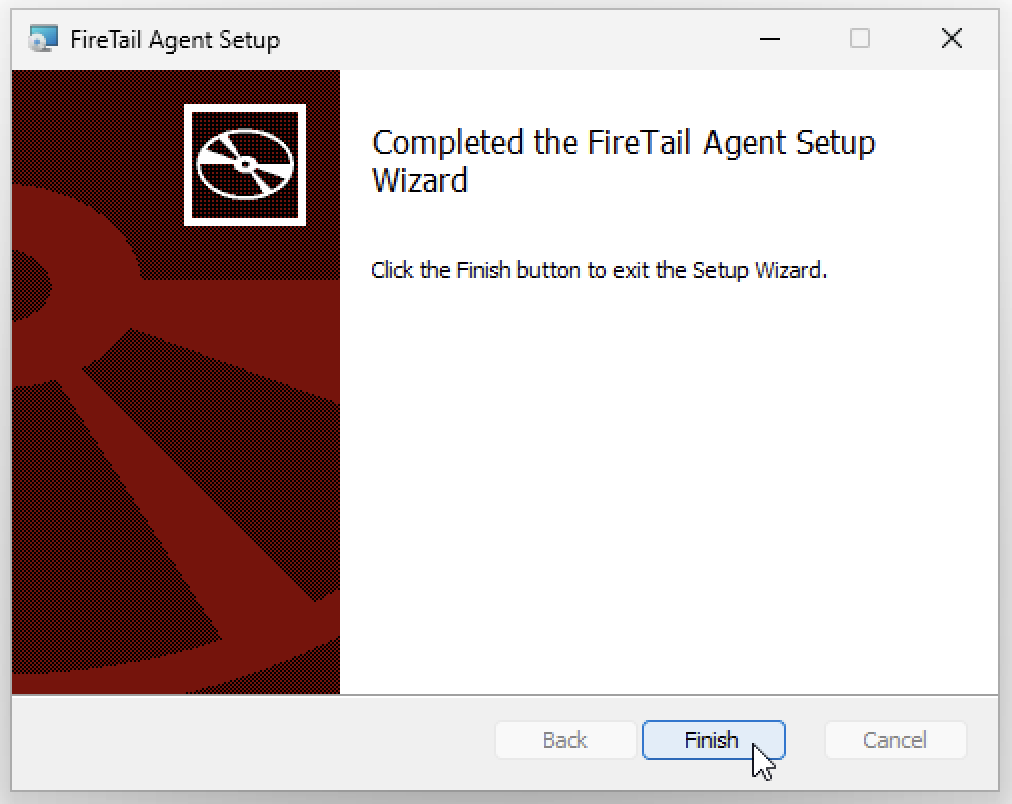
Once the installation process is complete, the following information should appear.

Click "Finish" to close the installation wizard.
Installation via CLI

The FireTail Endpoint Agent can be installed on Windows via CLI. Download the .msi and then use msiexec:

msiexec /i FireTailAgent.msi TOKEN=YOUR_TOKEN PROXY_PORT=8081 API_PORT=8085 /L*v install.log

To install in transparent mode, pass INTERCEPT_MODE=transparent. The property accepts proxy (the default) or transparent:

msiexec /i FireTailAgent.msi TOKEN=YOUR_TOKEN INTERCEPT_MODE=transparent /qn /L*v install.log

You can verify the integrity of the download against its published SHA256 checksum:

Get-FileHash FireTail_Agent_x86_64.msi -Algorithm SHA256

For more information about how to customise the installation using msiexec can be found here.

Deploying at scale

To deploy the FireTail Endpoint Agent across a Windows fleet with Microsoft Intune, see the Intune deployment guide.

Trusting the FireTail CA in WSL and developer tools

Transparent mode captures traffic from WSL and command-line tooling, but capturing the traffic is only half the job - the client also has to trust the FireTail Endpoint Agent's root CA, otherwise every HTTPS request fails with a certificate error.

The installer adds the CA to the Windows LocalMachine trust store, which covers browsers and most Windows applications. It does not cover:

  • WSL distributions, which have their own Linux trust store.
  • Node.js applications, including Claude Code, which ship their own bundled CA list and ignore the operating system trust store entirely.
  • Electron applications, including Visual Studio Code, for the same reason.

The CA is written to C:\ProgramData\FireTail\ca-cert.pem in PEM format, ready to be distributed to the tools below. If you need to export it from the Windows trust store instead - for example on a device where the CA was provisioned by MDM - you can do so with PowerShell:

$cert = Get-ChildItem Cert:\LocalMachine\Root | Where-Object { $_.Subject -like "*FireTail*" }
$pem = "-----BEGIN CERTIFICATE-----`n" +
       [Convert]::ToBase64String($cert.RawData, 'InsertLineBreaks') +
       "`n-----END CERTIFICATE-----"
Set-Content -Path C:\ProgramData\FireTail\ca-cert.pem -Value $pem -Encoding ascii

WSL

Copy the CA into the distribution's trust store and rebuild the bundle. Note that update-ca-certificates only picks up files with a .crt extension:

sudo cp /mnt/c/ProgramData/FireTail/ca-cert.pem /usr/local/share/ca-certificates/firetail.crt
sudo update-ca-certificates

Verify it worked:

curl -sS -o /dev/null -w '%{http_code}\n' https://api.anthropic.com/

A 4xx response means TLS negotiated successfully and the certificate was accepted. A curl: (60) SSL certificate problem means the CA is not yet trusted.

Claude Code and other Node.js tools

Node.js does not read the Linux or Windows trust store, so trusting the CA at the OS level is not enough. Point Node at the certificate with NODE_EXTRA_CA_CERTS, which appends it to Node's built-in CA list.

Inside WSL, add it to your shell profile so it applies to every session:

echo 'export NODE_EXTRA_CA_CERTS=/usr/local/share/ca-certificates/firetail.crt' >> ~/.bashrc
source ~/.bashrc

On Windows, set it as a machine-wide environment variable so it applies to Claude Code, npm, and any other Node tooling:

[Environment]::SetEnvironmentVariable(
  'NODE_EXTRA_CA_CERTS',
  'C:\ProgramData\FireTail\ca-cert.pem',
  'Machine'
)

Restart your terminal for the change to take effect, then confirm Claude Code can reach the API:

claude --version && claude -p "hello"

Do not work around certificate errors by setting NODE_TLS_REJECT_UNAUTHORIZED=0. It disables certificate validation for all TLS connections from that process, not just those the agent intercepts.

Visual Studio Code

Visual Studio Code runs on Electron, so its extension host has the same limitation as Node.js - extensions that make their own HTTPS requests will fail certificate validation even though Windows trusts the CA.

  • VS Code running on Windows: install the win-ca extension. It reads the Windows root store - including the FireTail CA - and injects those certificates into the VS Code Node runtime, so extensions pick them up with no further configuration.
  • VS Code connected to WSL (Remote - WSL): the extension host runs inside the distribution, so win-ca does not apply. Follow the WSL and Node.js steps above instead. Environment variables set in ~/.bashrc are not always inherited by the remote extension host, so it is more reliable to set NODE_EXTRA_CA_CERTS in VS Code's remote.WSL.env setting, or in /etc/environment inside the distribution.

Other command-line tools

Tools with their own CA bundles need to be pointed at the certificate individually. The most common ones:

Tool Configuration
Node.js / npm / Claude Code NODE_EXTRA_CA_CERTS=/usr/local/share/ca-certificates/firetail.crt
Python requests REQUESTS_CA_BUNDLE=/usr/local/share/ca-certificates/firetail.crt
pip PIP_CERT=/usr/local/share/ca-certificates/firetail.crt
curl CURL_CA_BUNDLE=/usr/local/share/ca-certificates/firetail.crt
Go SSL_CERT_FILE=/usr/local/share/ca-certificates/firetail.crt
Git git config --global http.sslCAInfo /usr/local/share/ca-certificates/firetail.crt

For a fleet rollout, distribute the CA and these environment variables through your MDM software rather than asking users to configure each device by hand. The Intune deployment guide covers doing this with Microsoft Intune.